There is a very particular coping mechanism that kicks in during the British summer, and it goes something like this: you notice a stain, you squint at it, you make a mental note to deal with it later, and then you close the door, pour yourself something cold, and decide that later is a problem for a cooler, more motivated version of yourself. That version, you are confident, will arrive sometime in September. By the time September actually comes around, you have forgotten the stain exists entirely – until the angle of the light changes one afternoon and there it is, staring back at you with the quiet patience of something that has absolutely nowhere else to be.
Welcome to the end-of-summer deep clean. The sun has stopped pretending it lives here, the barbecue has been retired to the shed, and it is time to reckon with every mysterious mark, discoloured patch, and frankly suspicious residue that accumulated between June and now while you were, very reasonably, doing something more enjoyable. This guide covers the most common categories of ignored summer stains – where they came from, what they actually are, and how to remove them properly before they spend the winter quietly becoming permanent.
The Fabric Stain Graveyard – Sofas, Cushions, and Upholstery
Sun Cream: The Silent Destroyer of Soft Furnishings
If there is one substance that should come with a household hazard warning, it is sun cream. It goes on your skin to protect you, migrates from your skin to every soft surface you subsequently sit, lie, or lean against, and then quietly oxidises over a period of weeks into a yellowish-orange stain that looks considerably worse than it did in July. The oily, chemical composition of most sunscreens – particularly those containing avobenzone – reacts with heat, light, and air in ways that make the stain progressively harder to shift. Waiting until September to deal with it is, from a purely chemical standpoint, not ideal. But here we are.
For fabric sofas and upholstery, start by applying a small amount of washing-up liquid directly to the stain and working it gently into the fibres with a soft cloth. Leave it for five minutes, then blot – never rub – with a clean damp cloth. For older, oxidised sun cream stains, a pre-treatment with a biological laundry liquid (the enzymes are specifically effective on the oily components) left on for fifteen to twenty minutes before the washing-up liquid step will significantly improve your results. Check the care label before using any moisture on the fabric, and always patch test in a hidden area first.
Outdoor cushion covers, if removable, should go straight into the washing machine on the highest temperature the fabric allows, with a biological detergent and an added scoop of oxygen bleach for anything that has also acquired a general greyish cast from the summer.
Ice Lolly, Barbecue Sauce, and the Other Suspects
The end of summer upholstery audit typically also turns up at least one inexplicable rust-coloured ring (barbecue sauce, almost certainly, deposited by someone who absolutely knew better), a sticky patch of uncertain origin near the armrest (ice lolly, fruit juice, or possibly both), and a faint greasy smear that may or may not be related to the sun cream situation above.
For sugar-based stains – ice lolly, juice, fizzy drinks – cold water is your first move, not hot. Heat sets sugar into fibres. Blot with cold water, apply a small amount of biological detergent solution, work it gently into the stain, and rinse thoroughly. For barbecue sauce and ketchup-based stains, scrape off any dried residue first with a blunt knife, then treat with a biological detergent solution. The tomato component will respond well to a small amount of washing-up liquid, while the smoky, oil-based components need the enzyme activity in the bio detergent to break down fully.
Hard Floors and Outdoor Spaces – The Summer Assault Course
What Those White Rings on Your Decking Actually Are
If your decking or outdoor wooden furniture has acquired a collection of pale, ghostly rings over the summer – and it probably has – they are almost certainly the result of wet glasses, plant pot bases, or the bottom of a persistently dripping ice bucket sitting in the same spot for an extended period. The water itself is not always the villain. The combination of moisture, heat, and the tannins in the wood produces a chemical reaction that bleaches the surface, while mineral deposits in tap water leave their own distinctive residue.
For decking and untreated outdoor wood, a solution of one part white vinegar to two parts warm water, applied with a stiff brush and left for ten minutes before scrubbing and rinsing, will shift most surface mineral deposits and mild water staining. For more stubborn white rings on treated or painted wood, a specialist wood brightener containing oxalic acid is the appropriate escalation – it reverses the oxidisation that causes the bleached appearance and is worth the extra step rather than sanding and resealing prematurely.
Indoor Hard Floors – Sun Cream Footprints and Tracking
If you have hard floors anywhere near the point of entry from a garden or outdoor space, they have almost certainly acquired a film of tracked-in sun cream, grass residue, and general summer detritus that your usual mopping has been redistributing rather than removing. Sun cream on hard floors is particularly insidious – it creates a thin oily layer that makes tiles feel vaguely sticky underfoot and causes grout to discolour at an accelerated rate.
For tiled floors, add a cup of white vinegar to a bucket of warm water and mop thoroughly, followed by a clean water rinse to prevent any vinegar residue. For engineered wood or laminate flooring, skip the vinegar entirely – the acidity can damage the finish over time – and opt instead for a pH-neutral hard floor cleaner and a well-wrung mop. The key word is well-wrung: standing moisture on wood-based flooring causes swelling and warping, and the floor does not particularly care that your intentions were good.
The Kitchen – Summer Party Evidence
Wax, Grease, and the Aftermath of Alfresco Entertaining
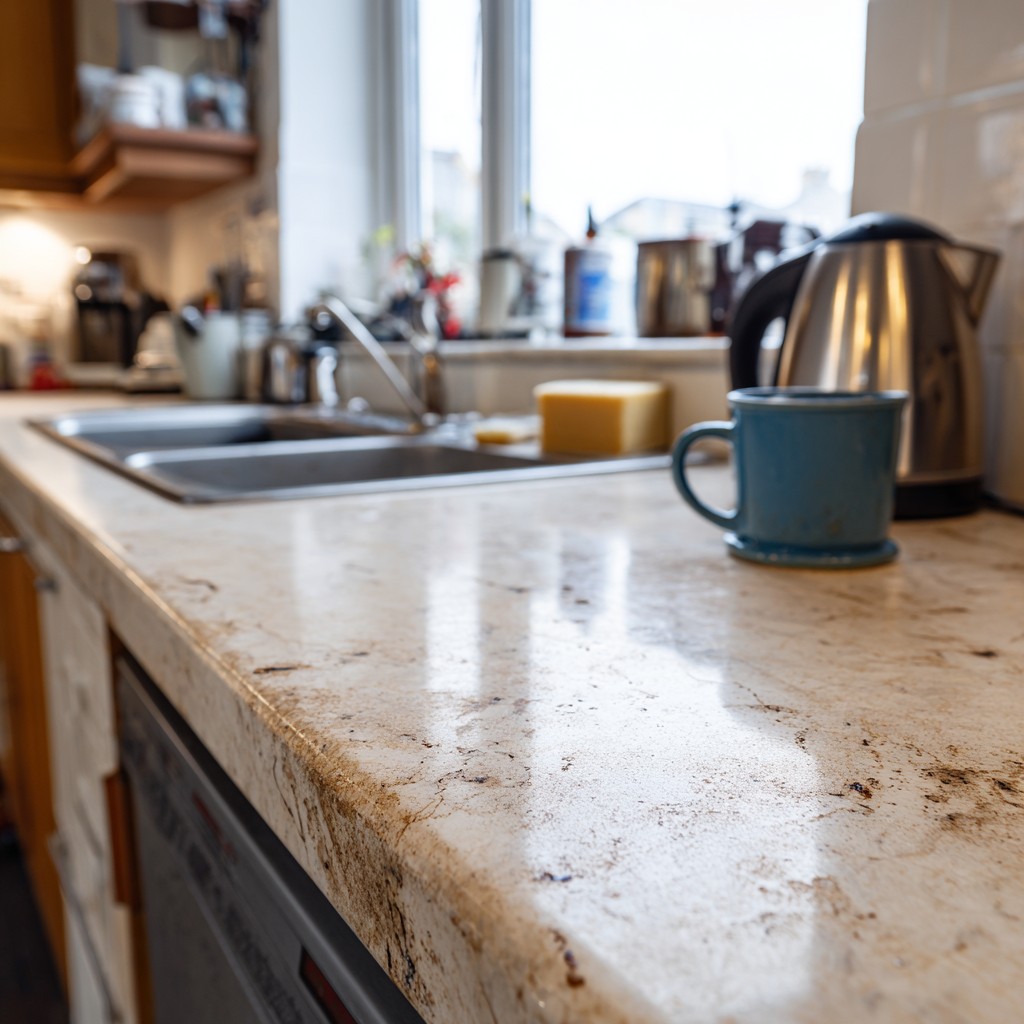
A summer of casual entertaining leaves a very specific set of kitchen stains, and they tend to cluster in predictable places. The hob and splashback will have acquired at least one significant grease deposit from the inevitable panicked indoor cooking when the weather changed its mind mid-barbecue. The worktop will carry the evidence of whatever drinks situation was operating – citrus halves, bottle rings, a mysterious sticky patch near where the ice bucket lived. And there is almost always a wax situation: a candle-lit dinner on the terrace that ended with a discussion about whose responsibility it was to move the candles before someone knocked one over.
Dried wax on hard surfaces responds best to cold rather than heat. Place a bag of ice on the wax for a few minutes until it becomes brittle, then crack it off with a blunt tool. Any remaining residue can be lifted with a small amount of white spirit on a cloth, followed by a thorough clean with your usual surface cleaner. For wax on fabric – tablecloths, napkins, soft furnishings – the approach is the opposite: place a piece of brown paper over the residue and apply a warm iron. The heat melts the wax upwards into the paper rather than further into the fabric. Repeat with a fresh section of paper until nothing more transfers, then treat any remaining greasy mark with a small amount of biological detergent before washing.
For baked-on grease on the hob, a paste of bicarbonate of soda and warm water applied generously and left for twenty to thirty minutes will do the heavy lifting, making what might otherwise require serious elbow grease into something considerably more manageable. A silicone spatula is useful for lifting softened residue without scratching the surface before you come in with a cloth.
Windows and Glass – The Summer Smear Situation
Why Your Windows Look Worse Than They Did in Spring
This one tends to come as an unpleasant surprise: you clean the windows, they briefly look worse, and you wonder if you have somehow done something wrong. You have not. Summer windows accumulate a particularly complex combination of pollen, dust, dried water droplets from rain and sprinkler overspray, and – if you live anywhere near a main road – a fine film of particulate that bonds stubbornly to glass in the heat. When you apply a standard glass cleaner to this combination without first removing the dry surface layer, you are not cleaning the glass so much as making a thin, uniform paste of everything that was already on it.
The fix is a two-stage approach. Start with a dry microfibre cloth to lift the surface layer of pollen and dust before any moisture goes near the glass. Then clean with your glass cleaner and a fresh microfibre, working in overlapping horizontal strokes rather than circular motions – circles tend to redistribute smears rather than removing them. For exterior windows with heavy mineral deposits from rain splash-back, a solution of equal parts white vinegar and water applied with a spray bottle, left for two to three minutes, and then wiped with a squeegee will dissolve the deposits before the final clean.
Fly Screens and Window Tracks – The Overlooked Casualties
Two areas that accumulate a summer’s worth of neglect with almost no one noticing until they do a proper clean: window tracks and fly screens, if you have them. Window tracks fill with a combination of dead insects, condensation residue, dust, and general atmospheric debris that compacts into a surprisingly tenacious layer over three months. A stiff-bristled toothbrush, a vacuum to remove loose material first, and a cotton wool bud for the corners will address this in about five minutes per window.
Fly screens should be removed where possible, laid flat, and washed with warm soapy water and a soft brush before being rinsed and allowed to dry completely before reinserting. A clean fly screen makes a meaningful difference to the quality of light and air coming into a room in those final warm days before autumn properly arrives – and it is one of those tasks that, once done, you will wonder how you tolerated leaving so long.